Ceiling and Walls

Chapter 11: Van Ceiling & Walls

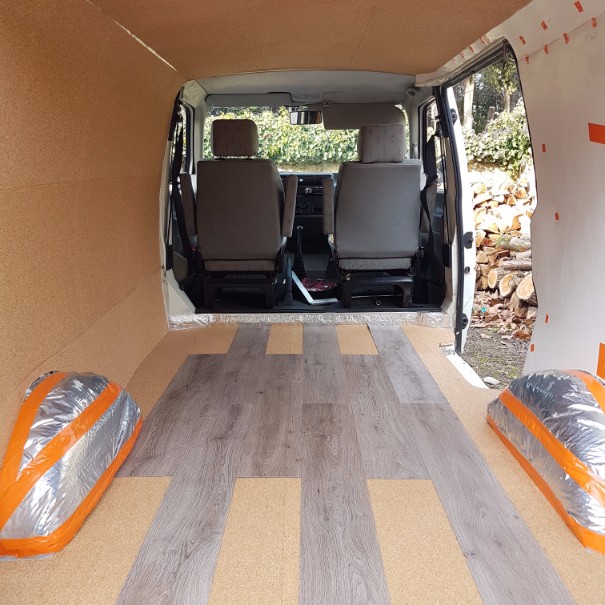
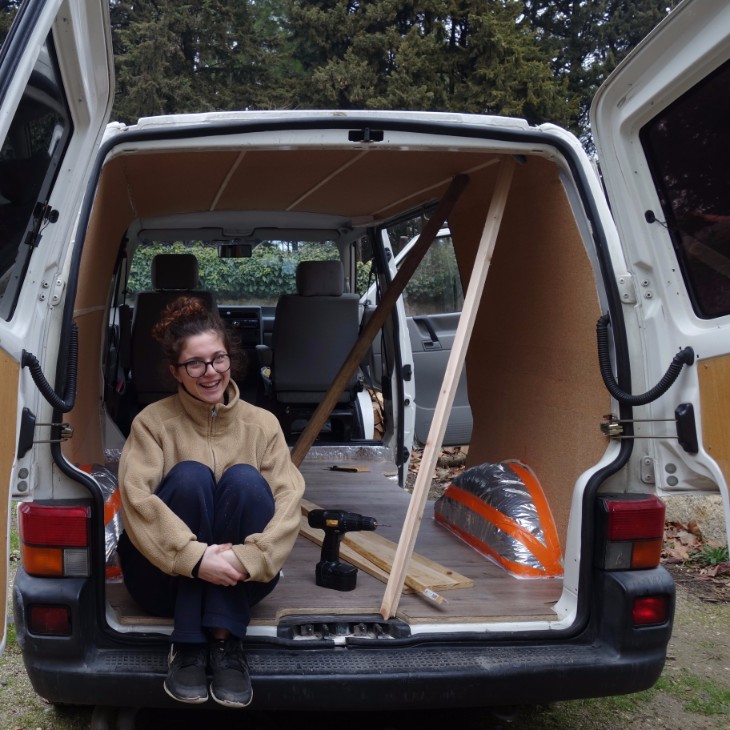
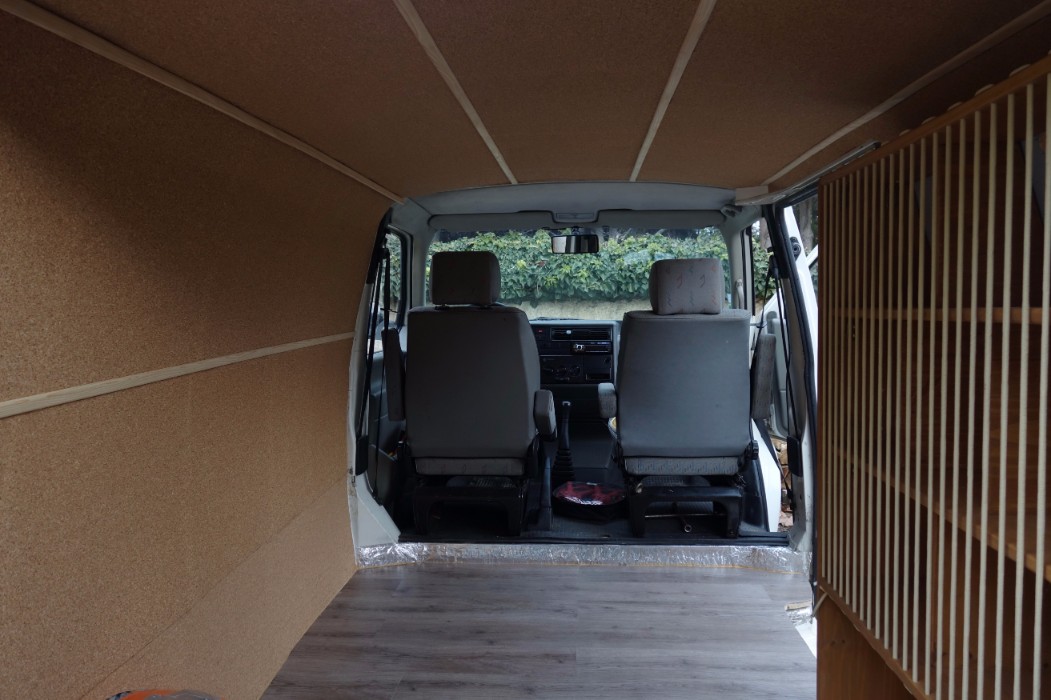
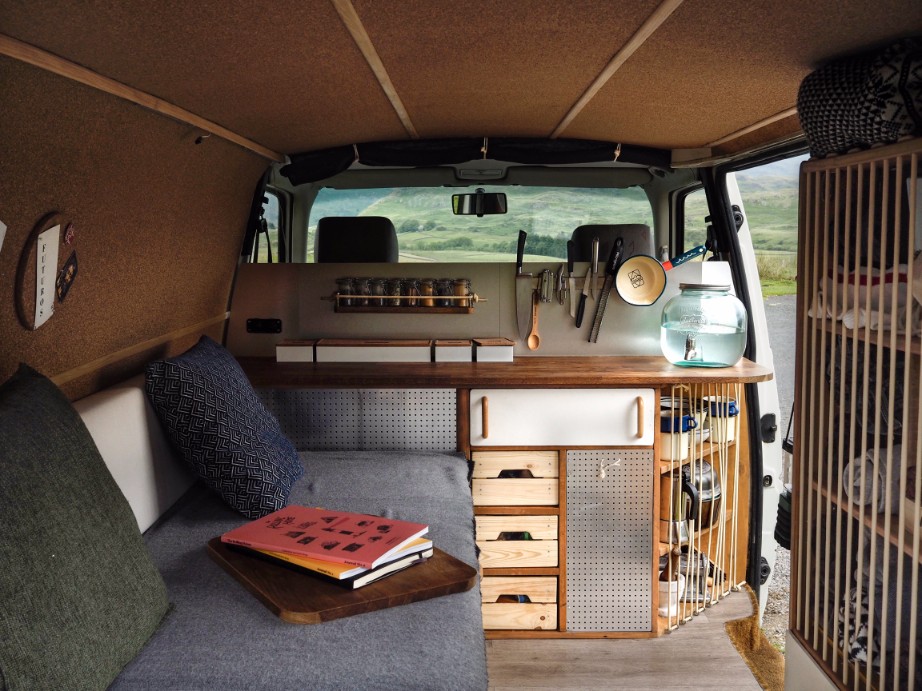
Converting the walls and ceiling of your van is a time-consuming process, but is vitally important to the look and functionality of your camper van. In our guide, we show two different options for building your van’s walls and ceiling. The first and most popular option is wood paneling, and the second option is cork board paneling. You can’t go wrong with either, but you’ll have to read through to see what will work best for you.

Before building your van’s walls and ceiling, be sure to install some flexible tubing to run wires throughout your van for lighting or any other electronics. You can see in the video below, how this can be done.

Option 1: Wood Walls and Ceiling

First, you’ll be installing the wood paneling by using a furring strip. You screw the furring strip to the van’s ribs instead of the main shell because you don’t want your screws puncturing through to the outside of the van. If your van doesn’t have any sort of ribs, a wood wall and ceiling will not be a good option.

After installing the tongue and groove pine, you may decide that you want to touch up the wood with some varnish to give it a layer of protection and a nice clean look. If you decide to do this, be sure to give the wood a light sanding beforehand.

Furring Strip Boards – Use strip boards for a base.  You will need to buy a few boards to fit throughout your van.

1 in. x 4 in. x 8 ft. Furring Strip Board

Assorted Screws – Use screws to screw in the strip board to the van. Make sure you screw the boards into the ribs of the van so it doesn’t puncture through the outside of the van.

Assorted Screws

Tongue and Groove Pine – Use this to easily install your finished outer layer. These fit right into place with one another so there are no cracks or crevices.

Gorman Pine Tongue and Groove Siding

Assorted Screws – Use these same screws to screw the tongue and groove pine into the furring strip boards.

Assorted Screws


Here is a great video to give you more of a visual:

Tools

Option 2: Cork Board Walls and Ceiling

This option will only be ideal for vans without ribs on its walls and ceiling. If your van does have ribs, you will need to install a layer of wood before sticking on the cork board.

Cork Board – This is a great alternative to your typical wood paneling. It’s great for hanging things and very easy to install.


Cork Sheet board

Cork Underlayment Adhesive – You will need to glue the cork board in place with the adhesive. Do not use staples or screws to secure cork board.

Cork Underlayment Adhesive

Trowl – Use a trowel to spread the underlayment adhesive.

V-Notch Economy Trowel

1/8 Push Pins – You can’t forget the push pins for hanging a map, pictures, etc.

Push Pins

Photo Credit: www.radius-ulna.com

Roof Vent Installation

A roof vent/fan is the key to keeping your van cool during the hot summer months. It also brings a bit more natural light into your van. We strongly recocmmend a Fan-Tastic vent. They are not cheap but provide numberous features including an automatic rain sensor that will close the vent when it gets wet, along with reversible air flow, and a remote.


Previous Chapter

van insulation

Next Chapter

wood van flooring

Spread the love:

Join our Community

Join our community to stay up to date with everything going on in the world of van life.
Don’t worry… we don’t like spam either!