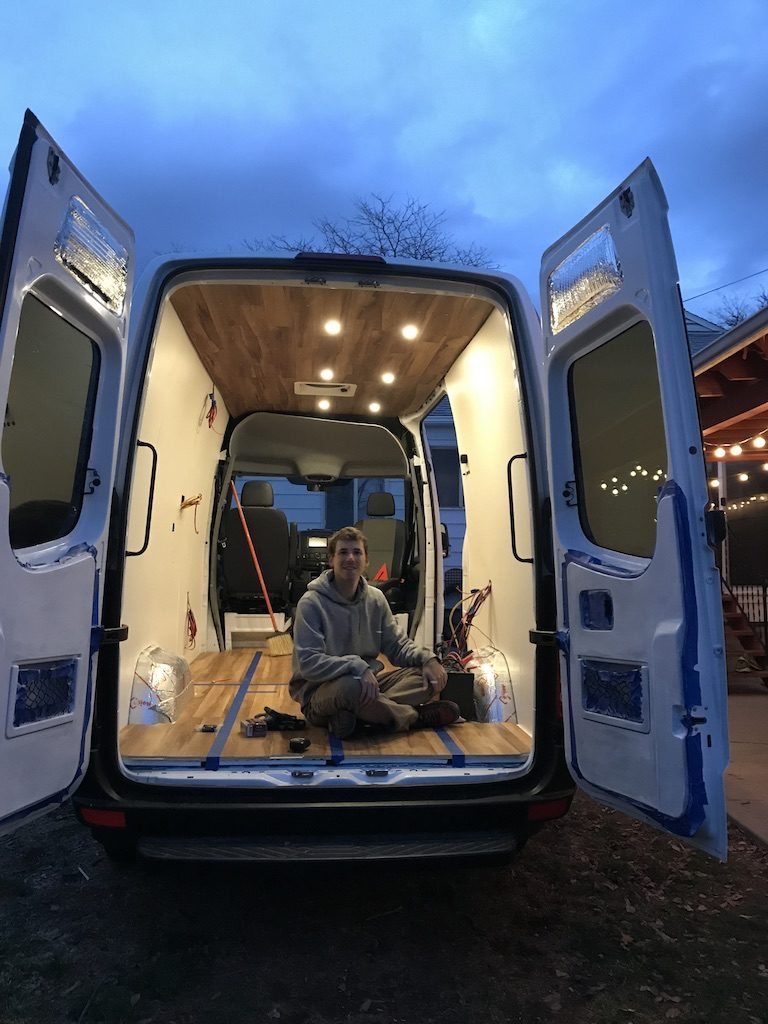
Camper van solar panels and electrical systems can often scare people away because they seem like something that is very high-tech. In reality, it’s easier than you think, can save you loads of money, and make your life much easier while on the road.


Chapter 16: Van Solar Panels & Electrical Systems
1. How much Solar Power do I need for my Van?
Figuring out how many watts of solar power you need for your camper van is the first thing you need to figure out. This video explains the calculations that need to be made to give you the right amount of power for your van conversion.
2. Rigid vs. Flexible Solar Panels
Pros of Rigid Solar Panels for a Van
- They allow for an adjustable solar panel mount.
- They can dissipate heat easier because they lay about one inch off the roof, allowing air to flow underneath and cool off the solar panels.
- Slightly more powerful than flexible solar panels.
- Some flexible solar panels have been found to pool water when installed on a flat roof, causing debris to collect, which can cause damage.
- More durable than flexible solar panels. If something falls on flexible solar panels, they can scratch. If you will often be staying in a campground with an abundance of trees, flexible solar panels are a risky option.

Pros of Flexible Solar Panels for a Van
- They are less bulky so they are more aesthetically appealing.
- They are more stealthy so others won’t know you’re living in your van.
- Lighter weight.
- Can bend up to 30 degrees, which can allow for more sun exposure.
- You don’t need to drill holes in your roof – you can use double sided mounting tape, Velcro, or glue such as Dicor lap sealant.
- Drilling holes can also increase the risk of water leakage.
We couldn’t find any flexible solar panels that come in kits, so you will need to buy the parts separately.

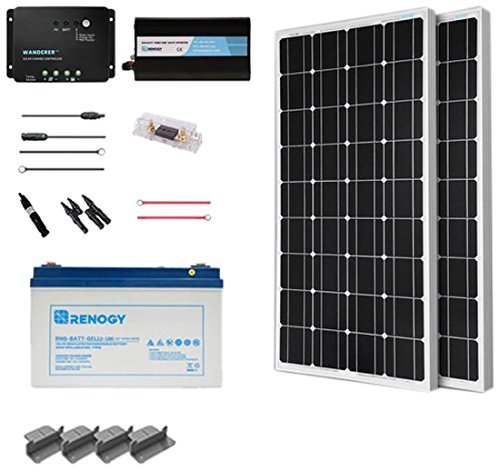
Renogy Battery 12V 200Ah – this is a deep cycle pure gel battery. Renogy is known for making really reliable, safe, and long-lasting batteries which is why we recommend them.

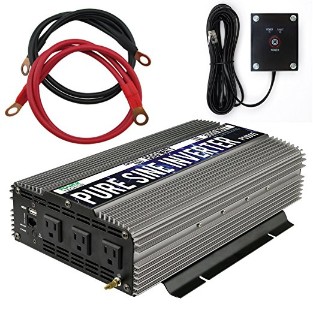
BESTEK 1000W Power Inverter – this is one of the most affordable and basic inverters, which gets the job done for most van dwellers. We talk more about what inverters are used for and how to install them in step 5.

ALLPOWERS 20A Solar Charger Controller – the charge controller is used to limit the amount of electric current being pulled from the batteries. It stops you from overcharging, which can damage battery performance and increase safety risks.

ALLPOWERS 20 ft 10 AWG Solar Adaptor Cable – with MC4 female and male connectors to connect the solar panel to the charger controller.

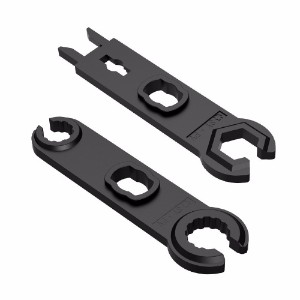
ALLPOWERS MC4 Male and Female Cable Connectors – these are used to connect your solar panels in series. Watch the video at the bottom of the page to decide if you would prefer to hook up your solar panels in series or parallel.

ALLPOWERS Male and Female Branch Connectors – these are used to connect your solar panels in parallel.

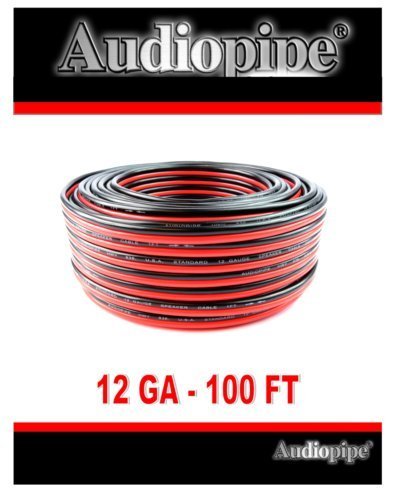
Renogy 16FT 12 AWG Wire – this is used to connect your charge controller to your battery.

ALLPOWERS MC4 Connector Assembly Tool – Very handy for the assembly of custom Mc4 wires. For breaking connections after they have already been locked together.
VELCRO Extreme Outdoor – using Velcro instead of a permanent adhesive will allow you to move your solar panel to best face the sun.

Solar panels are commonly installed on the roof of a van, but this video shows an alternative method. Flexible solar panels can be easily maneuvered so they are always facing the sun, which is explained in this video:
3. Hooking up your Solar Panels – Series vs Parallel
Solar Panel Tips
- Solar panels are more efficient in cool temperatures.
- When deciding on solar panels, it’s ideal for all of your solar panels to be the same size and type. When they provide different amounts of power, or if one is older than the other, this can cause complications.
- Even the smallest bit of shade or shadow can affect the efficiency of a solar panel. If you have a roof hatch that is casting shade over just a few inches of your solar panel, your power output can decrease quite a bit.
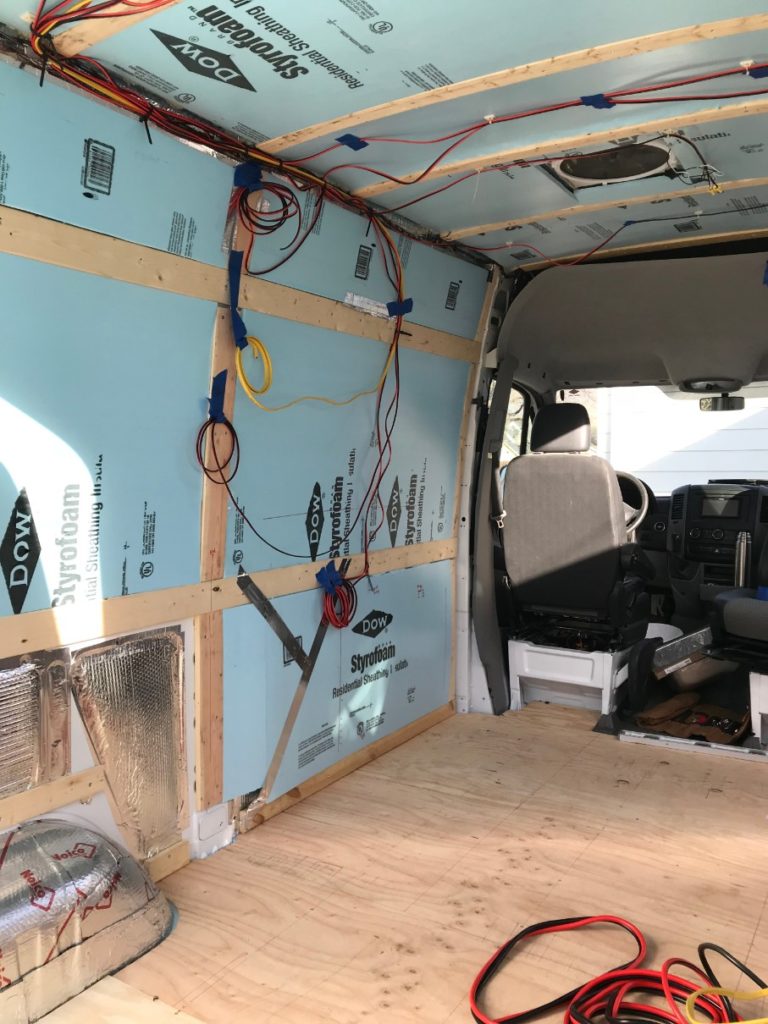
4. Feed Wiring from Outside of Van to Inside
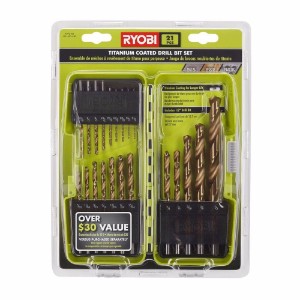
Ryobi 18-Volt ONE+ Lithium-Ion Cordless Drill – Using a drill bit, drill a hole through the roof or the side of your van so you can feed the wiring through.

Heat Shrink Black Tubing – Insert the heat shrink tubing through the hole in your van so the wires don’t get cut by the hole’s sharp edges.

Electrical Tape – use both electrical tape and calk to close up the hole.


5. DC to AC Van Power Inverter & Wiring
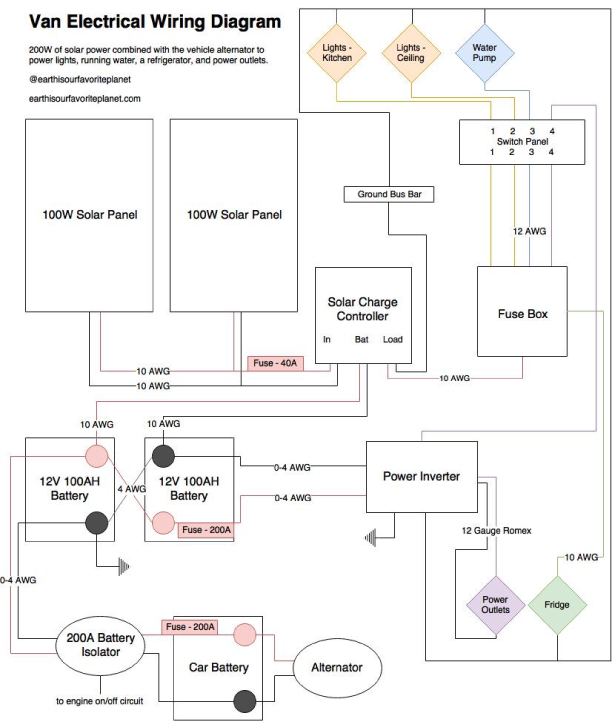
Our friends Crystal and Ben (@earthisourfavoriteplanet) will take you through their electrical setup in this section. Ben, who is an electrical engineer, breaks things down into digestible steps.
We are capturing power from the sun, and storing it in our 12 volt DC batteries. Lots of appliances can run on DC power, such as lights, fridge, fan, and USB outlets. In order to use wall outlets, we need to change our power from DC to AC. Hold on tight and I’ll explain how this works and walk you through the process.
Choosing an inverter
The first step is choosing what size inverter is right for you. We choose a 1000 watt BESTEK inverter for the low cost and simple features, but depending on what you want to power you may need a different size. It’s important to properly size your inverter because an inverter will not be able to power your devices beyond the wattage threshold.
Read our article on the Best Camper Van Inverters
So, what are you going to be plugging into your outlets? Your appliances should list how many watts they draw on them, so check the wattage for all your appliances and add up the total that you could be using at a time. Pick your inverter based on the maximum you could be drawing at once. For example, we choose a 1000W inverter because all we plug in is a coffee grinder and computer chargers. Don’t get an inverter that is too powerful because your inverter itself takes power to run, so if you have a powerful inverter, it will use up more of the power from the solar panel than it needs to. Also, be aware that if you’re charging devices that take up 800 watts, but your inverter is 500 watts, you may blow a fuse.
Decide on your design and inverter location
Once you have your inverter picked out and you’re eager to wire it up, you have one more decision to make. Do you want to use the outlets that are in the inverter (option 1) or put a true wall outlet in your wall (option 2)?
Option 1
If you put the inverter in a place that will be convenient then your wiring will be significantly easier. You can turn the inverter on and off from the box itself and plug your appliances into it. If you go this route you only have to follow along through step 5.
Option 2
We went for option 2 and put true wall outlets into the wall so that our inverter could be hidden away near our batteries. Even if you don’t have anything plugged into the wall, when the inverter is on it is drawing a little bit of current.
So this brings us to the next decision; you can just say “ahh whats a little bit of power” and hide your inverter away and always leave it on, you can keep the inverter in a convenient place so you can use the power switch on the device itself, or choose to buy an inverter that comes with a wall switch.
Wiring
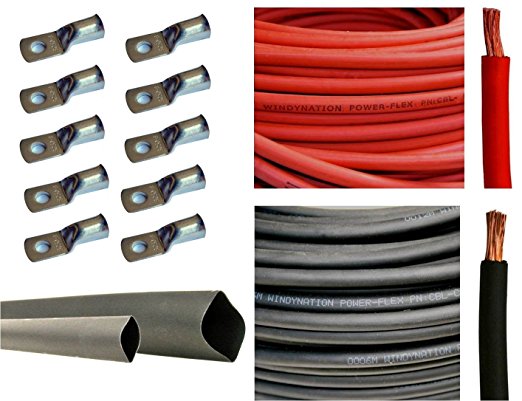
Now that you have a plan, let’s wire it up! We are starting from the battery with 12 volt DC power, which is about 10 times greater than the current the inverter is outputting (110 volts AC). In order to handle this large current, you need a big wire going from the battery to the inverter (we used a 4 gauge wire). You also want to keep the wire as short as you can, which is why we hid the inverter under the bed right next to the batteries. Longer lengths between the battery and inverter or larger power requirements would require an even larger wire gauge.
Step 1
Measure out the length of two 4 gauge wires and cut them. Strip about an inch of the encasing, so the wires themselves are out, on each side of the wire.
Step 2
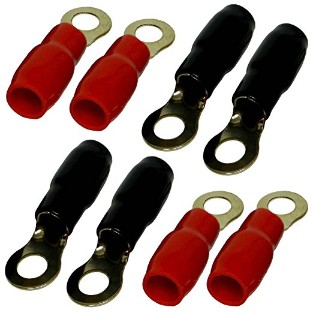
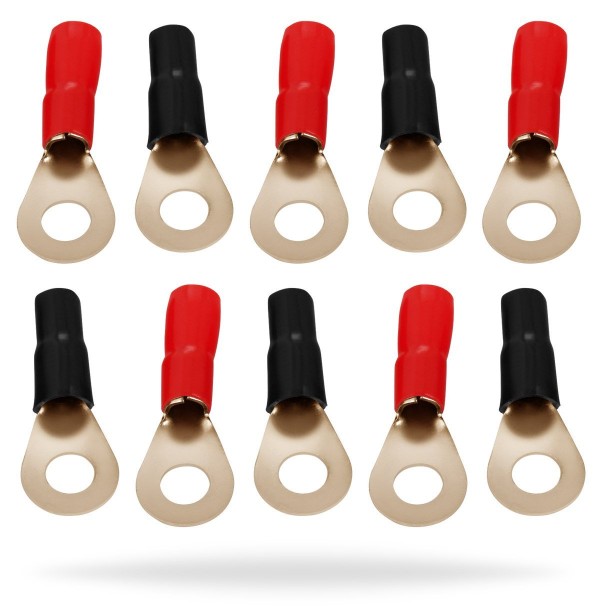
Connect a crimp ring terminal to each side of your 4 gauge wires using a hammer crimp tool.


Step 3
Screw the crimp ring terminal onto the positive battery terminal with a bolt (we used a wing nut).
Step 4
Connect the other side of the wire to the inverter.
Step 5
Repeat steps 3 and 4 for the ground wire. If you are planning to plug straight into your inverter then congratulations! You’re done! If you’re an over achiever then keep reading.
The wires coming out of the inverter with 120 volts AC can be smaller and longer wires, we recommend using 12 gauge Romex wire, which is what is used in homes. The Romex wire is one yellow wire with multiple wires hidden inside, so although you will now only be working with one wire, you still have a positive and negative wire inside the yellow casing.

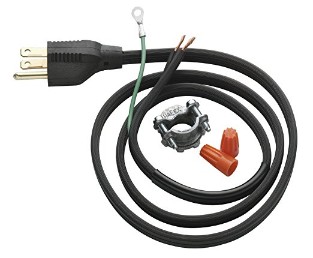
You may be scratching your head about now since there is no clear way to connect the Romex to the inverter, you are correct, there isn’t a clear way. We need to do some magic so one side of the Romex wire has a plug on it. We cut an old extension cord and spliced the Romex to the power plug – if that made your eyes wide you might prefer to just buy a garbage disposal wire to do the trick.
Step 6
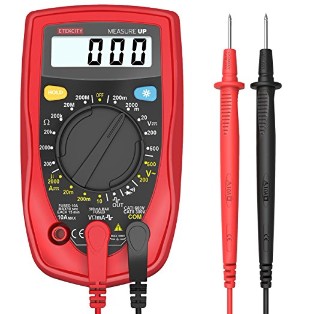
Connect the Romex and garbage disposal wires. We need to make sure we connect the wires positive to positive and negative to negative, which is easier said than done. Plug in the garbage disposal wire and using a multimeter touch each wire (to complete the circuit), if the voltage reads positive, you have the positive (red) touching the positive wire, if it’s negative vis versa. The Romex wire should have a white and black wire sticking out, the black should be positive and the white is negative. So now that you can match up the positive and negative wires, connect them using twist quick connects.

Step 7
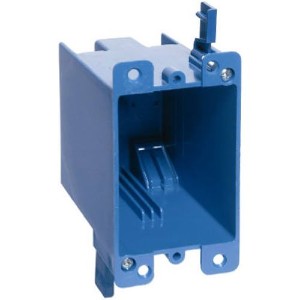
*THIS IS IMPORTANT* The joint where you connected wires in step 6 needs to be put into an electrical junction box so that if the connection loosens you don’t have live wire free in your van.
Step 8
Connect the other end of the Romex to the wall outlet! (This should be easy to find on youtube.)
Congratulations! You have successfully wired up your inverter! If you decide to leave the inverter on, or have placed the inverter in a convenient location, you’re done! If you want a fancy wall switch to turn your inverter on and off then hopefully you bought a power inverter with a remote switch. The inverter should come with instructions on how to connect it!
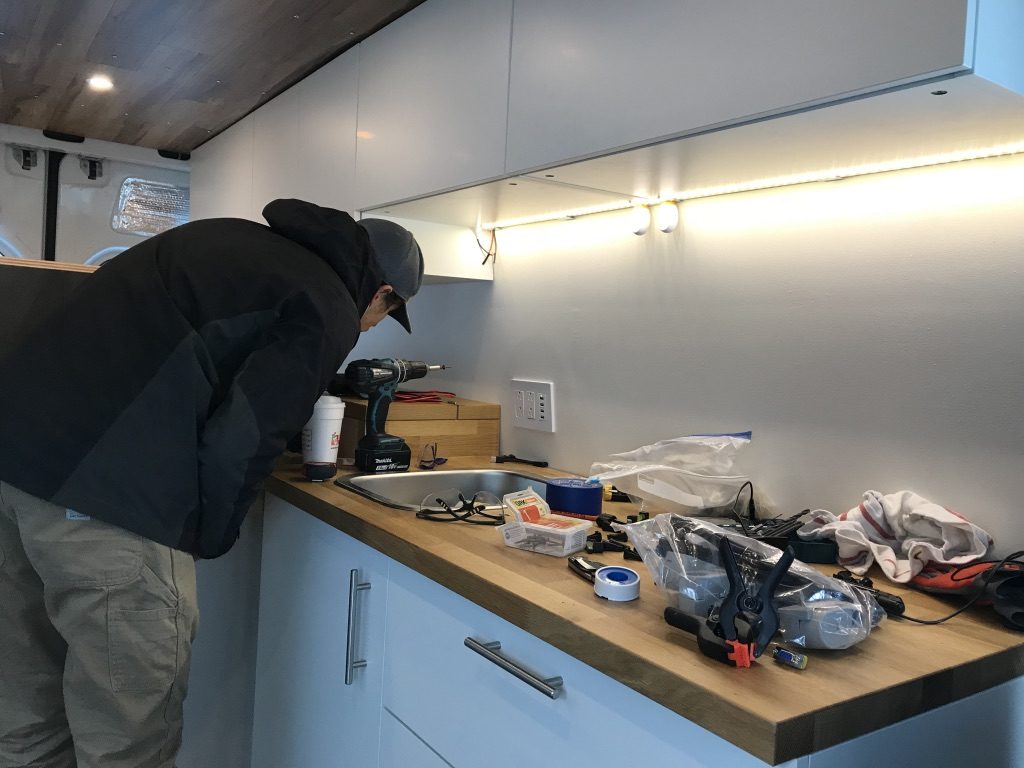
6. Van Lighting Installation
The lighting creates the ambiance, sets the mood, and lets you function when it’s dark outside. Needless to say, it’s pretty important and luckily, it’s not that difficult! Follow along and we’ll tell you everything you need to know.
Step 1
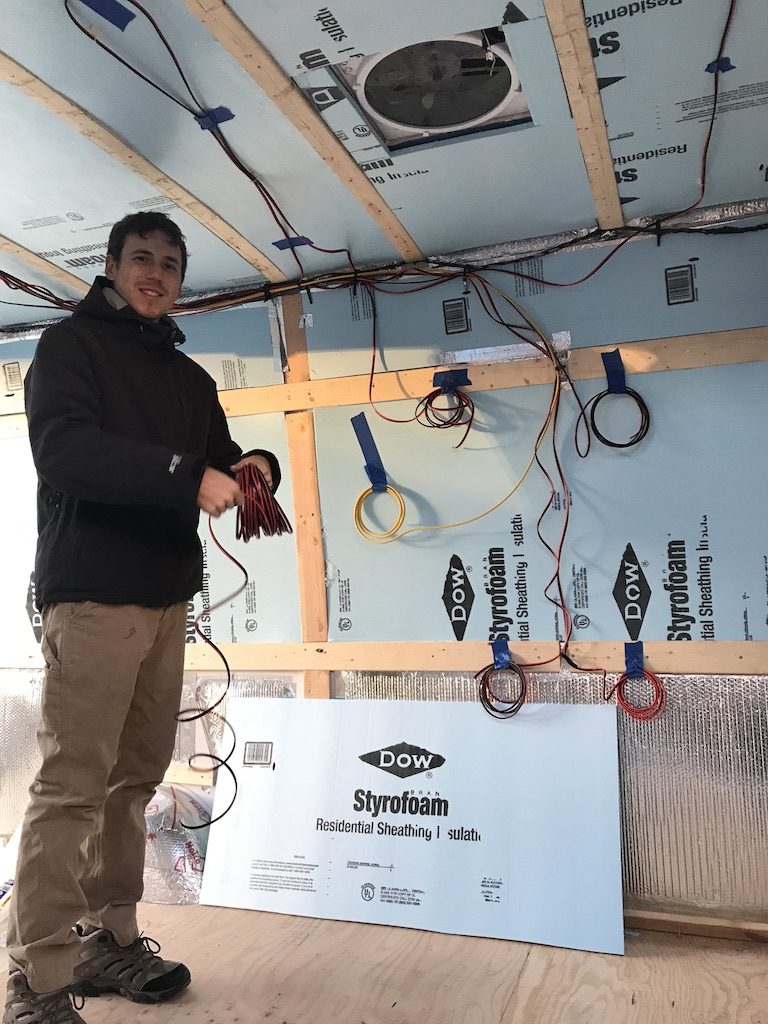
Wire from solar panels to battery – Once you’ve finished insulting your van (if you choose to do that), it’s time to figure out where you want your light switches, where you want your lights, and where you’ll store your batteries. Once you have that figured out, run your wires! By this, I mean simply start the wire at the battery *give yourself extra length*, run it to where the switch will live (taping it to the wall along the way), and then to where each light will go.
Step 2
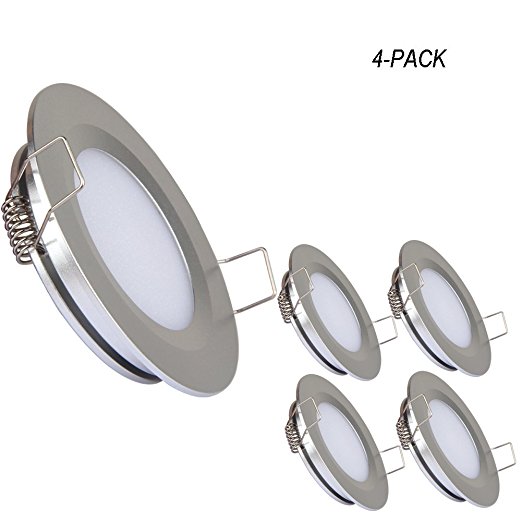
Running wires – We choose to do two different light switches so we have kitchen lights and house lights. The kitchen lights are adhesive string lights and we highly recommend them! For our house lights we used inset LED lights, using a hole saw we cut a circle for our lights and simply placed them in. As we put each wood plank onto the ceiling we added the light to the circuit.
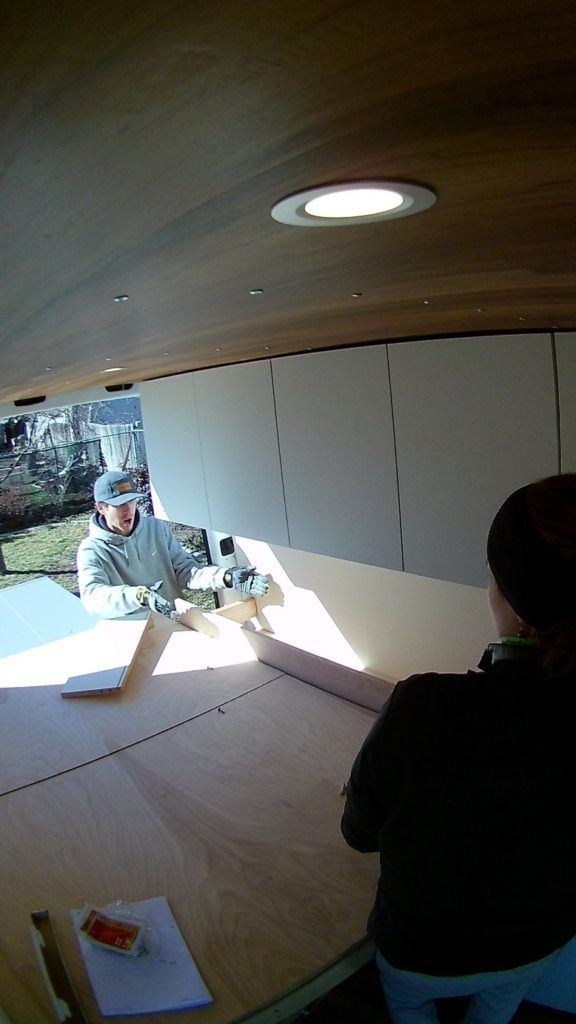
Step 3
Add your lights to the circuit – Using wire cutters, cut your wires and strip about 6 inches so the wire itself is exposed. Then twist all power wires together (red) and connect them using a twist crimp connector. Repeat for the ground wires (black). We wired all of our ceiling lights in parallel using the same wire (all light power wires connected to 12V power wire, all light ground wires connected to single ground wire).

Step 4
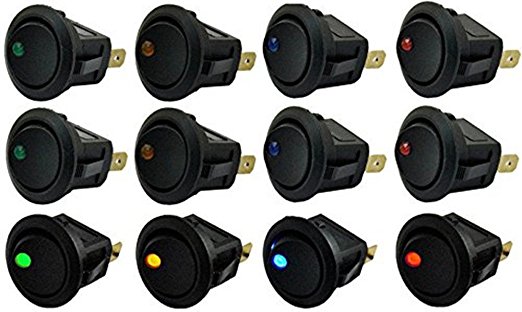
Wire up the switches – Wire in a light switch between the fuse box/battery and the lights. You can use multiple switches for different zones – we wired all of our ceiling lights to a single dimmer (worth it) and string lights under the kitchen cabinets to an additional switch. This process is the same as in step 3, cut and strip the wires, and connect them with twist connections.


Step 5
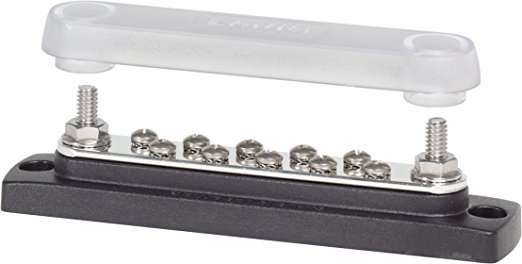
Connecting to the battery – From the switches, run wires to the fuse box. Place appropriate fuses (A = W / V, so for our six 3W lights 6 * 3W = 18W / 12V = 1.5A we used a 3A fuse) and connect the fuse box to the positive battery terminal. Connect all of the ground wires to a common bus bar and then to the negative battery terminal.

Lighting Tips
- Go for warm lights! Especially if you have exposed metal inside your van, they help it feel homey.
- When you run the wires, make them longer than you think you’ll need! It’s easy to cut them down, it’s not so easy to solder extra wire on…
- Keep everything 12 volts.
- LABEL YOUR WIRES! Put a piece of painters tape on all your wires and write what that wire is for, do this on both ends of the wire.
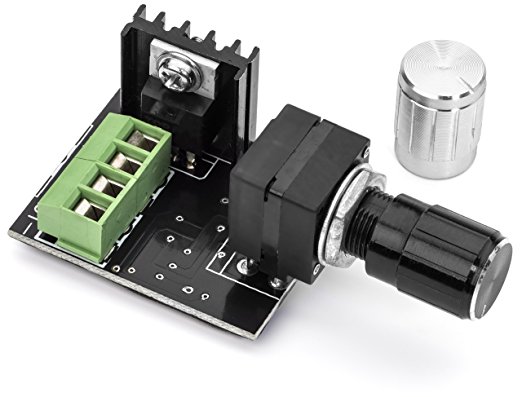
- Dimmers are easy to add in and give you so much more flexibility with your lighting choices!
Join our Community
Join our community to stay up to date with everything going on in the world of van life.
Don’t worry… we don’t like spam either!
Previous Chapter
