

Designing a layout for a camper van can be exceptionally daunting. In fact, it was so overwhelming for us during our first conversion that we didn’t even plan a layout before we started building. After drawing draft after draft of layout plans we still couldn’t decide on the final floor plan, so we just started building and planned as we went. While we love our layout and put a lot of thought into every aspect of it, we definitely see the downside in not having at least a general layout in mind before beginning the build.
This time around we did things differently. We learned so much from our first van build and after living in it for well over a year, we had a ton of ideas on how to improve the functionality of this second build.
So if you’re stuck somewhere in the floor plan design process, here are some helpful tips for designing a highly functional and versatile build.
1. Prioritize
Before you start sketching up a bunch of conversion layout ideas, first prioritize your must-have features that you want to incorporate into your build.
Start with basic questions like these: How much space are you working with? Do you need storage for outdoor gear? Do you value having an open living space? How much power will you have for appliances? Do you need to accommodate a pet? Etc.. Basically, what will your life look like inside this tiny home?
Then prioritize the features and appliances you know you want to include into the build. Here are some examples:
1. Bed: stationary bed with “garage” storage in back vs. bench or murphy conversion bed
2. Table: fixed vs. portable
3. Kitchen: What are your must-have appliances? (fridge, propane stove, oven, microwave, etc.)
4. Bathroom: Do you want a toilet or a shower? What kind?
5. Other valuable features: wood-burning stove, places to store instruments, dog bed, book shelves, etc.
After you have a list of things you absolutely must include in your build, then you can start finding inspiration and generating layout ideas.
2. Find Inspiration
As much as we would love to take credit for every single design aspect incorporated into our van build, we can’t. The truth is that there are a lot of resources for finding inspiration for functional design ideas and there’s no shame in mimicking other people’s great ideas.
Before we started the second van conversion, we created tons of Pinterest boards and GoogleDocs of pictures of other vans to get ideas for our new layout. We also used our experience with our first conversion to guide some design decisions because we know what works and what doesn’t now.

When looking at other builds for inspiration, you’ll probably see a lot of products or concepts you’d like to include in your own van. Don’t be afraid to reach out to people you find ideas from! If there’s a product that you’ve never seen before, ask where they bought it. If there’s a piece of multifunctional furniture that you’d like to copy, ask them how they built it. We love when people reach out and ask us how to make something that we have in our van. The internet is a beautiful way to share and promote creative ideas!
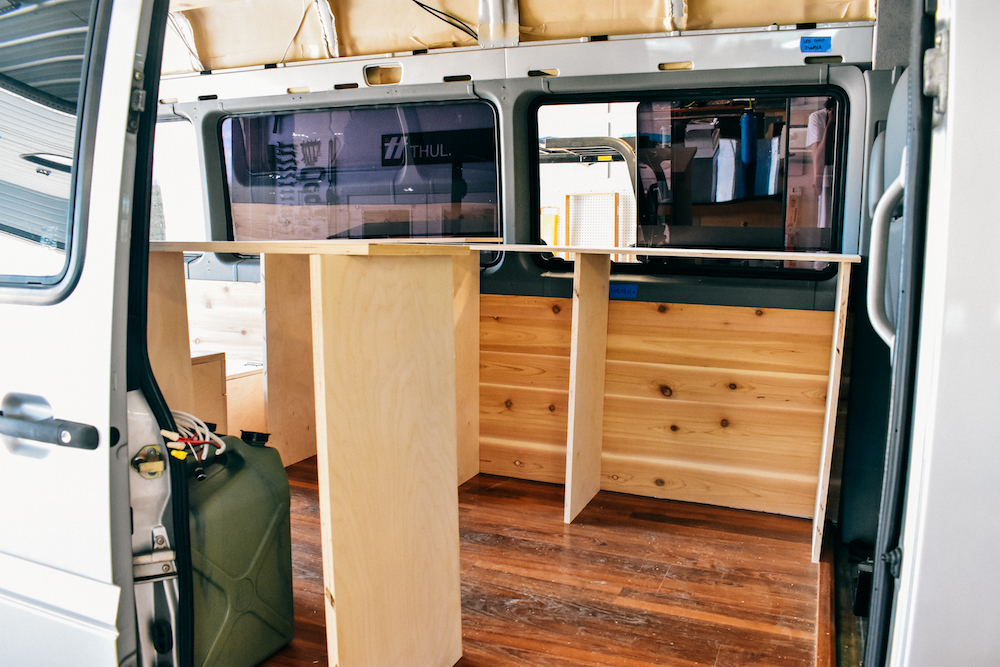
3. Exhaust All Layout Options
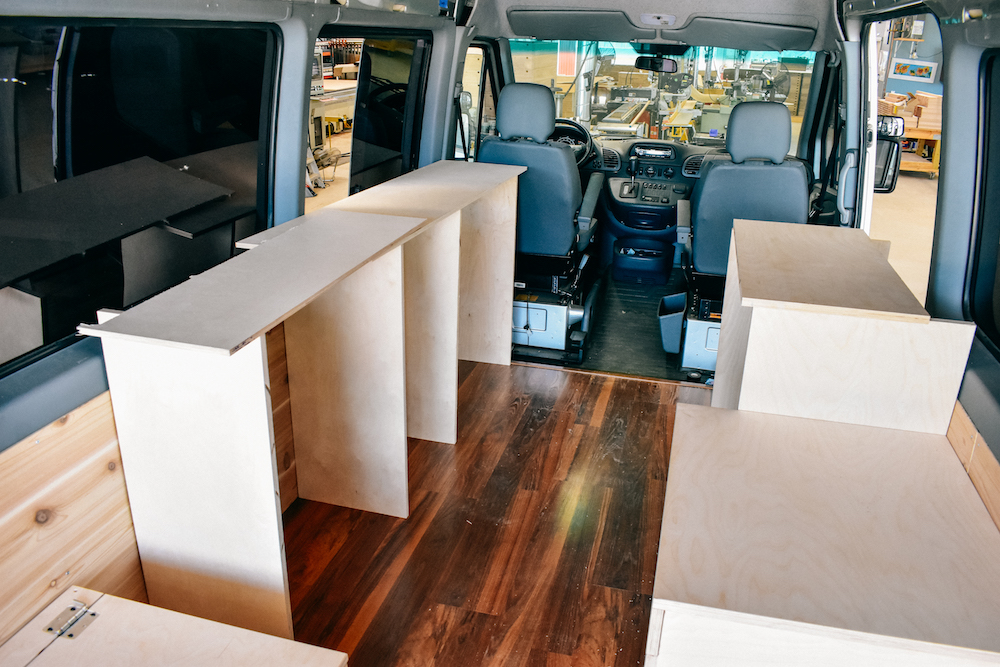
Now that you have your must-have features and a head full of ideas, now it’s time to try them out. Use cardboard or scrap pieces of wood to mock up different camper van layouts and exhaust all options: even the ones you don’t think you’ll like. The reason behind trying every option is because some ideas that you initially don’t like may end up making more functional sense. Here’s a personal example of this:
I (Tay) was completely against having the stove and the sink on opposite sides of the van. I always felt that all the kitchen appliances should be on the same unit to make it an actual “kitchen” so to speak. But when mocking up different layouts, Pete tried putting the sink on the passenger side next to the door. Initially, I didn’t like this idea. But after exhausting all layouts, we figured out that by having the sink and stove separate, it opened up the kitchen unit for much more storage, gave the toilet box a second function as a place for dishes to dry, and allowed access to the gray water tank from outside. Never try, never know!
4. Make Your Build Adjustable
The last tip that we have is to build in a way that allows you to make adjustments along the way. Only use screws and avoid using glue unless it’s essential to the integrity of a structure. By doing this, nothing is permanent and you can take out and add things as you wish. We’ve found this to be extremely helpful in the long term.
Designing a highly functional tiny living space, in my opinion, is much more difficult than outfitting thousands of square feet. Every single inch matters and is taken into account. In that same vein though, it also forces you to look at a minuscule living space with more tactical and creative eye. So when and if you start to feel overwhelmed by the myriad of possibilities, take these tips into account. These steps helped us immensely while designing our second van build and took the dread out of the entire process.
This article was written by Tay from @alwaystheroad. You can also check out their kickass adventures at alwaystheroad.com.


Great tips on how to do the layout!
Team Linesgraph!